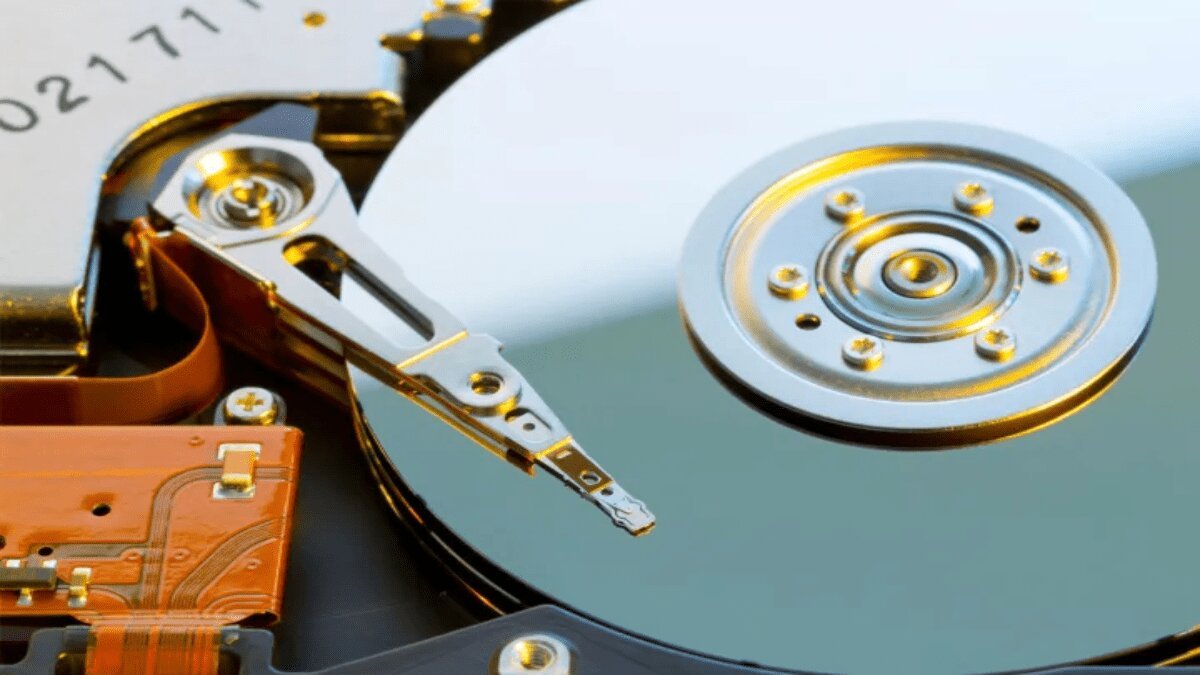
Cloning your hard drive or SSD is a straightforward way to transfer all your data, apps, and settings to a new drive. This process allows you to enjoy the benefits of a new drive, such as faster performance, greater capacity, and more advanced features, without the hassle of reinstalling everything from scratch. Plus, with the right tool, you can do it for free!
Before You Begin
This guide assumes you have both a source drive (the drive you’re cloning from) and a destination drive (the drive you’re cloning to), and that both are installed and ready for use. If they aren’t, you might want to check out some guides on how to buy and install an SSD or build a PC.
Important: Ensure there’s no important data on the destination drive, as it will be completely wiped during the cloning process. If necessary, back up any important data before proceeding.
How to Clone a Hard Drive
There are several disk cloning applications available, but to keep this guide widely accessible, we’ll be using the free version of DiskGenius. While there are paid versions with additional features, they aren’t necessary for cloning a hard drive.
Difficulty: Moderate
Duration: 1 hour
What You Need: A PC with at least two drives
Step-by-Step Instructions
Step 1: Download DiskGenius
- Visit the official DiskGenius website.
- Download and install the free version of DiskGenius, following any specific installation instructions (e.g., avoid installing it on the destination drive).
Step 2: Launch DiskGenius
- Open DiskGenius. You’ll see a detailed partition view of your drives, including capacities and installations.
- Ensure both your source drive and destination drive are listed.
Step 3: Select the Source Drive
- From the top-bar menu, select Tools.
- Click on Clone Disk.
- In the pop-up window, select your source disk and click OK.
Step 4: Select the Destination Drive
- Choose the destination drive where you want to copy the data, and click OK.
- Double-check you’re selecting the correct drive, as this will overwrite any existing data.
Step 5: Finalize Settings
- On the final screen, verify that you’ve selected the correct drives.
- Decide what to copy. You can copy all files regardless of drive sizes, but if your destination drive is larger, you can also copy the sectors and partition layout.
- Once satisfied, click Start.
Step 6: Confirm the Cloning Process
- Confirm that you’re happy to proceed by selecting OK.
Step 7: Choose Cloning Method
- Decide how you want the cloning to take place. You can either choose “Hot migration,” which clones the drive while it’s active, or select “Lock and Execute” to close everything down and make the partition inaccessible during cloning to ensure data integrity.
Step 8: Wait for the Cloning to Complete
- The cloning process can take some time, depending on the size and speed of your drives. Be patient and wait for it to finish.
Cloning your hard drive or SSD can save you a lot of time and hassle when upgrading to a new drive. By following these steps with DiskGenius, you can easily and efficiently transfer all your data without needing to reinstall everything from scratch. Whether you’re looking for better performance or more storage space, cloning is a great way to make the transition smooth and seamless.


