Dealing with a red LED light on your motherboard can be puzzling, as it can signify anything from a minor issue to a major hardware failure. Here’s how to approach diagnosing and potentially resolving the problem:
Check the Manual
- Consult the Manual: Every motherboard manufacturer uses different indicators and codes. Start by referring to the manual that came with your motherboard. If you don’t have a physical copy, you can find it online on the manufacturer’s website. Look for a section that explains the meaning of the LED lights or any diagnostic codes provided by the motherboard.
- LED Behavior: Note whether the red LED is constantly on, flashing in a pattern, or only appears under specific circumstances (like during boot). This detail can provide clues about what the issue might be.
Reset the CMOS
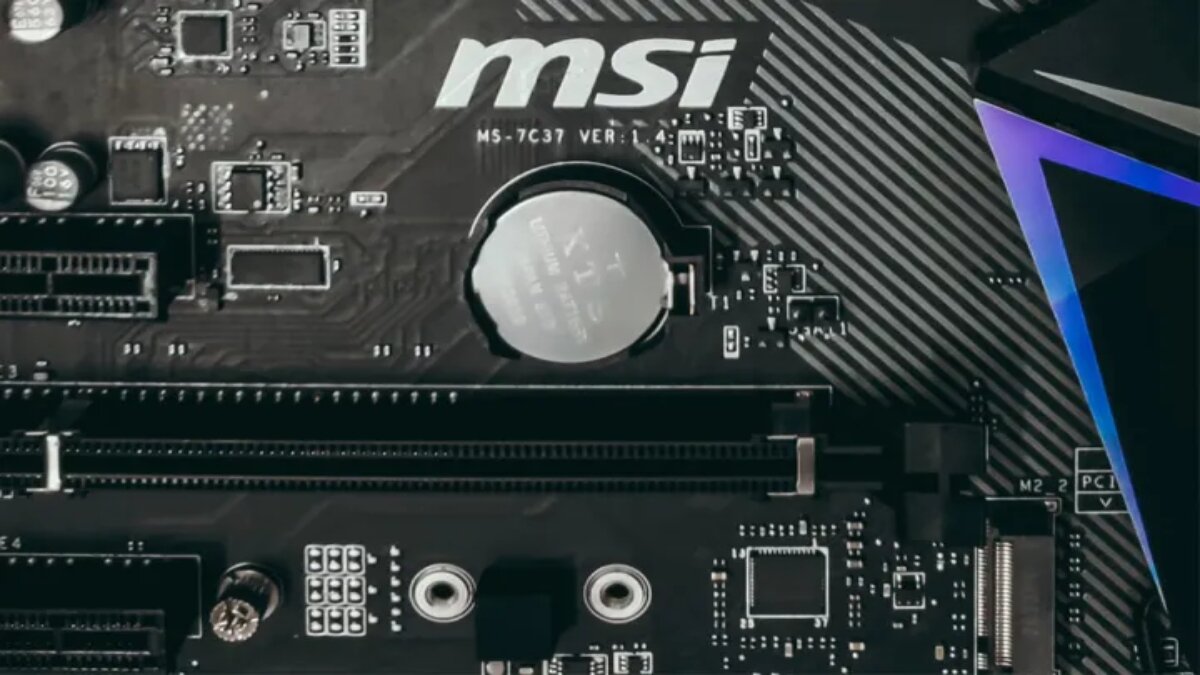
- Reset CMOS: Sometimes, instability issues can trigger warning lights. Resetting the CMOS can often resolve these issues:
- Using BIOS Reset Button: If available, press the BIOS reset button on your motherboard.
- Manually Resetting: Power off your PC, unplug it, remove the CMOS battery from the motherboard, press and hold the power button for 30 seconds to drain residual power, then reinstall the battery and cables.
Red Light CPU Errors
- Reinstall CPU: If the red light indicates a CPU error, try reinstalling the CPU:
- Remove the CPU cooler and processor.
- Reinstall the CPU ensuring it is correctly seated.
- Verify that the CPU fan is functioning properly and the cooler is securely attached.
- Check Cooler: Ensure the CPU cooler is firmly attached and functioning correctly, as cooling issues can trigger warnings.
- Update BIOS Firmware: If you recently upgraded your CPU, ensure your motherboard supports it. Update the BIOS using a supported CPU before reinstalling the newer processor.
- Test the CPU: If possible, test the CPU in another compatible PC to confirm it is functioning correctly.
Other Troubleshooting Steps
- Unplug Unnecessary Components: Disconnect all unnecessary peripherals, RAM sticks (leave only one), storage drives, and add-in cards. Sometimes, conflicts with these components can cause issues.
- Reseat Memory: Remove and reinsert RAM sticks. Test each stick individually to rule out faulty RAM as a potential cause.
- Check Power Connections: Ensure all power connections to critical components like the GPU and CPU are secure. Double-check cables and connectors to ensure they are properly seated.
If you’ve exhausted these troubleshooting steps and the red LED persists, it may indicate a more serious hardware fault. Before considering replacement, review all connections and try these steps again to ensure no simple oversight is overlooked. If the issue persists, consulting a professional technician or contacting motherboard support may be necessary to diagnose and resolve the problem effectively.


