Frying chicken to perfection is a culinary skill that can elevate a humble ingredient to a mouthwatering delicacy. Whether you’re aiming for a crispy and golden exterior or a juicy and tender interior, mastering the art of frying chicken involves careful preparation and precise execution. In this comprehensive guide, we’ll take you through the steps to fry chicken correctly and achieve that irresistible combination of crunch and succulence.
Ingredients and Equipment:
- Chicken Pieces: Choose your preferred cuts, such as wings, drumsticks, thighs, or breasts. Consider whether you want bone-in or boneless pieces based on your preference for cooking time and flavor.
- Seasonings: Create a flavorful seasoning blend for the chicken. Common additions include salt, pepper, garlic powder, onion powder, paprika, and cayenne pepper for a touch of heat.
- Flour Coating: Prepare a coating mixture by combining all-purpose flour with your chosen seasonings. This coating will contribute to the crispy texture of the fried chicken.
- Egg Wash: Create an egg wash by whisking eggs with a bit of milk or water. This serves as the adhesive layer for the flour coating.
- Frying Oil: Use a high-smoke-point oil such as vegetable oil or peanut oil. Ensure you have enough oil to fully submerge the chicken pieces for even cooking.
Step-by-Step Guide to Frying Chicken:
- Preparation:
- Pat the chicken pieces dry with paper towels to remove excess moisture, which can cause splattering during frying.
- Season the chicken generously with your chosen blend of spices. Allow it to marinate for at least 30 minutes for optimal flavor absorption.
- Setting Up the Coating Station:
- Place the flour coating mixture in a shallow dish and the egg wash in another. Line them up in the order of chicken, flour, egg wash, and back to the flour.
- Coating the Chicken:
- Dredge each piece of chicken in the flour mixture, ensuring it’s fully coated. Shake off any excess flour.
- Dip the coated chicken into the egg wash, covering it thoroughly.
- Return the chicken to the flour mixture for a second coating, pressing the flour onto the chicken to create a crispier crust.
- Heating the Oil:
- Heat the frying oil in a deep fryer or a heavy, deep skillet to a temperature of 350-375°F (177-190°C). Use a thermometer for accuracy.
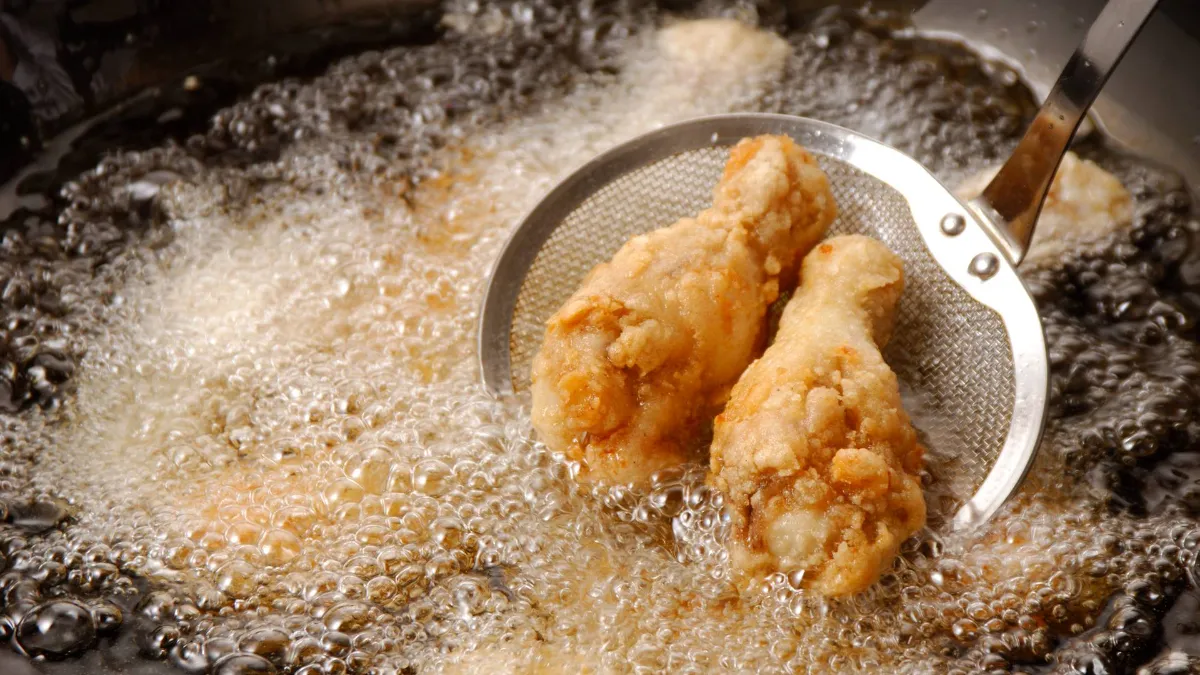
- Frying Process:
- Carefully place the coated chicken pieces into the hot oil, ensuring they are not overcrowded.
- Fry the chicken until it reaches a golden-brown color, turning the pieces occasionally for even cooking.
- Use a kitchen thermometer to check that the internal temperature of the chicken reaches at least 165°F (74°C) to ensure it is fully cooked.
- Draining and Resting:
- Remove the fried chicken from the oil and place it on a paper towel-lined plate to drain excess oil.
- Allow the chicken to rest for a few minutes before serving. This helps the juices redistribute, ensuring a juicy and flavorful result.
Tips for Perfectly Fried Chicken:
- Temperature Control: Maintain a consistent oil temperature throughout the frying process to achieve an even and crispy texture.
- Avoid Crowding the Pan: Fry chicken in batches to prevent overcrowding, which can lead to uneven cooking and a less crispy exterior.
- Resting Time: Allow the fried chicken to rest before serving. This helps retain moisture and enhances the overall eating experience.
- Experiment with Seasonings: Customize your seasoning blend to suit your taste preferences. Try different herbs and spices to create a unique flavor profile.
Frying chicken correctly is a skill that combines careful preparation, precise cooking techniques, and a dash of creativity. By following this step-by-step guide and incorporating tips for optimal results, you’ll be well on your way to serving up perfectly fried chicken that’s crispy on the outside, tender on the inside, and bursting with flavor. Enjoy the culinary journey of mastering this classic dish in your own kitchen.
