Crocheting a beanie is a rewarding and enjoyable project that allows crafters to create cozy headwear in various styles and designs. Whether you’re a beginner or an experienced crocheter, making your own beanie is a fun way to customize your wardrobe and showcase your creativity. In this step-by-step guide, we’ll walk you through the process of crocheting a basic beanie from start to finish.
Materials Needed:
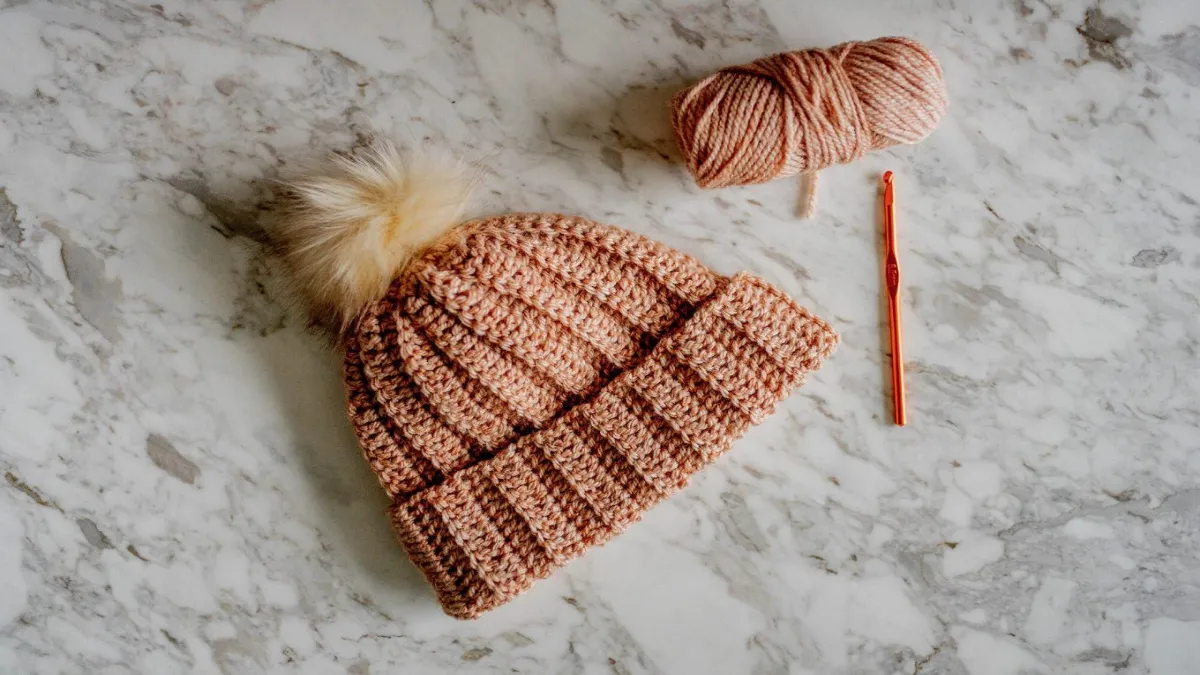
- Yarn: Choose a yarn in your preferred color and weight. Worsted weight yarn is a popular choice for beanies, but you can experiment with different weights for varied textures and warmth.
- Crochet Hook: Select a crochet hook size appropriate for your chosen yarn. Check the yarn label or use a hook size recommended in your pattern.
- Scissors
- Yarn Needle: For weaving in ends and finishing touches.
Steps to crochet a beanie
Step 1: Make a Slip Knot
Begin by making a slip knot on your crochet hook. To do this, create a loop with the yarn, then insert your crochet hook through the loop and tighten it around the hook.
Step 2: Chain Stitch (Foundation Chain)
Next, create a foundation chain by making a series of chain stitches. The length of your foundation chain will determine the circumference of your beanie. For an average adult-sized beanie, start with approximately 70-80 chain stitches. Adjust the number of chains as needed for a tighter or looser fit.
Step 3: Join into a Ring
After making your foundation chain, join the last chain stitch to the first chain stitch with a slip stitch to form a ring. Be careful not to twist the chain when joining.
Step 4: Begin Crocheting in Rounds
Once you have formed a ring, you will begin crocheting in rounds to create the body of the beanie. Start by chaining one (this does not count as a stitch) and then work single crochet stitches (SC) into each chain around the ring. Continue working in a spiral, without turning your work, until you reach the desired height of your beanie.
Step 5: Increase Rounds (Optional)
If you want your beanie to have a slouchy or more relaxed fit, you can add increase rounds to widen the circumference gradually. To do this, work two single crochet stitches into the same stitch at regular intervals around the circle. The number and frequency of increase rounds will depend on your desired fit.
Step 6: Shaping the Crown
Once you’ve reached the desired height of your beanie, you can start shaping the crown to close the top. To do this, begin working decrease rounds by crocheting two single crochet stitches together (SC2tog) at regular intervals around the circle. This will gradually decrease the number of stitches and create a tapered crown.
Step 7: Fasten Off and Finish
Continue crocheting decrease rounds until only a few stitches remain. Cut the yarn, leaving a tail, and fasten off your work. Use a yarn needle to weave the tail through the remaining stitches and pull tight to close the hole at the top of the beanie. Secure the yarn tail and weave in any remaining ends.
Step 8: Optional Embellishments
Once your beanie is complete, you can add embellishments such as pom-poms, buttons, or ribbons to personalize your creation and add extra flair.
Crocheting a beanie is a satisfying and enjoyable project that allows you to showcase your skills and creativity. With just a few basic crochet stitches and some yarn, you can create a cozy and stylish accessory to keep you warm during the colder months. Whether you’re a beginner or an experienced crocheter, follow these simple steps to crochet your own beanie and enjoy the process of crafting something beautiful with your own hands.
