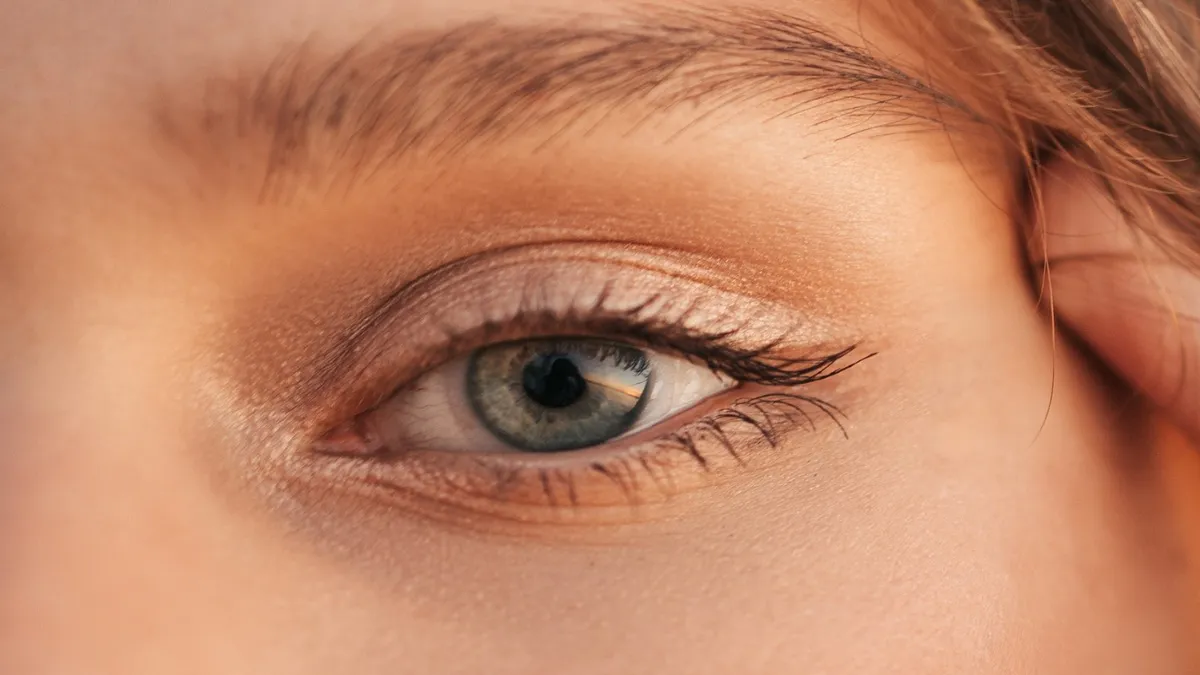
If you’re looking for a simple and cost-effective way to achieve a lifted and curled lash look at home, Vaseline might just be the secret ingredient you need. With its moisturizing properties and thick consistency, Vaseline can be used to lift and set your lashes without the need for a lash lift kit. In this article, we’ll guide you through the steps of giving yourself a lash lift at home using Vaseline.
Materials Needed:
- Vaseline (petroleum jelly)
- Clean mascara wand or spoolie brush
- Cotton swabs (optional)
- Warm water
- Gentle eye makeup remover (optional)
READ MORE: Here’s a guide on achieving your perfect lifted lashes at home without a kit!
Step-by-Step Guide:
Note: Ensure your lashes are clean and free from any makeup residue before starting the process.
- Cleanse Your Lashes: Start by removing any makeup or oils from your lashes using a gentle eye makeup remover. This step ensures that Vaseline adheres well to your lashes.
- Prepare Vaseline: Take a small amount of Vaseline on the back of your hand or a clean surface. You won’t need much – a pea-sized amount for both eyes should be sufficient.
- Warm the Vaseline: Rub the Vaseline between your fingertips to warm it up slightly. This makes it easier to apply and ensures a smoother consistency.
- Apply Vaseline to Lashes: Using a clean mascara wand or spoolie brush, coat your lashes with Vaseline. Start at the base of your lashes and sweep upward, ensuring each lash is evenly coated. Be cautious not to get Vaseline in your eyes.
- Comb Through Lashes: After applying Vaseline, comb through your lashes with the mascara wand or spoolie to separate and define them. This helps in achieving a more uniform lift.
- Create the Lift: Use the mascara wand or spoolie to gently push your lashes upward, creating a lifted effect. Continue this motion until your lashes are positioned to your liking.
- Hold the Lift: Hold the lifted position for a few seconds to allow the Vaseline to set your lashes in place. This step is crucial for achieving a natural-looking curl.
- Optional: Clean Up Excess Vaseline: If you’ve applied a bit too much Vaseline or if it has smeared, use a cotton swab to clean up any excess. This ensures a polished finish.
- Leave the Vaseline On: Let the Vaseline sit on your lashes for at least 15-20 minutes to allow it to set and provide the desired lift.
- Cleanse Again if Necessary: If you feel the need to remove the Vaseline, especially if it feels heavy or if you’re ready to remove your eye makeup, use a gentle eye makeup remover or warm water to cleanse your lashes.
ALSO READ – How to lift your lashes at home with all the materials listed
Tips for a Successful DIY Vaseline Lash Lift:
- Less is More: Start with a small amount of Vaseline, as using too much can weigh down your lashes.
- Even Application: Ensure that the Vaseline is applied evenly across all lashes for a natural and uniform lift.
- Warm Vaseline: Warming the Vaseline between your fingertips makes it more pliable and easier to work with.
- Use a Clean Applicator: A clean mascara wand or spoolie ensures a precise application and separation of lashes.
Achieving a DIY lash lift at home with Vaseline is a budget-friendly and accessible alternative to professional lash lift kits. By following these simple steps, you can enjoy lifted and curled lashes that frame your eyes beautifully, all from the comfort of your own home. Experiment with the process to find the perfect lift for your lashes and enhance your natural beauty effortlessly.