Changing your icon in Fallout 76 can inject a bit of personal flair into your gaming experience. However, the process might not be immediately apparent. Here’s a step-by-step guide on how to customize your icon:
- Access the Atomic Shop: Unlike what you might expect, you won’t find the icon customization option in the Settings or Social menus. Instead, while in-game, open your map and press the designated button (Z for PC, L1 for Xbox) to access the menu.
- Navigate to the Atomic Shop: In the menu, you’ll see the Atomic Shop option located underneath the resume button. Click on it to enter the shop.
- Browse Available Icons: Once inside the Atomic Shop, you’ll find a variety of customization items, including skins, C.A.M.P accessories, and icons. Head to the Icon section to explore the available options.
- Choose Your Icon: Icons are categorized as free or Atom-based (premium). Most options are free, but some require spending Atoms, the in-game currency. Additionally, there are Fallout 1st icons exclusive to subscribers. Browse through and select the icon that best suits your style.
- Equip Your New Icon: After choosing your desired icon, you’ll see a prompt at the bottom that says ‘EQUIP.’ For PC, hover over the icon and click Enter or click it once. This action will equip the new icon to your profile.
- View Your New Icon: To confirm that your new icon is applied, navigate to the Social section of the main menu. Here, you’ll see your updated icon displayed.
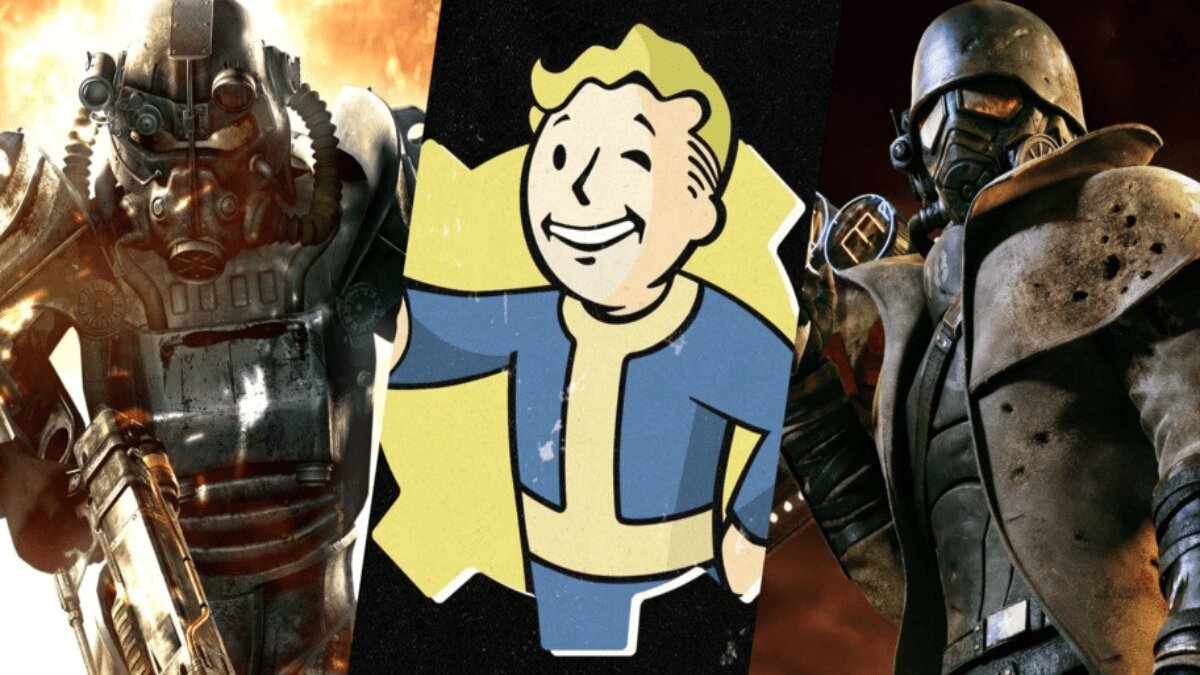
There’s a plethora of icons to choose from in Fallout 76, catering to various tastes and preferences. Whether you’re a fan of Vault-Tec imagery, Fallout 4 references, or pride flags, there’s an icon to help you express yourself. From classic Vault Boy and Vault Girl icons to thematic designs like the Gunslinger or Halloween Ghoul, the options are diverse and abundant. Just pick the one that resonates with you and make your mark on the wasteland!

TOPICS:
Fallout