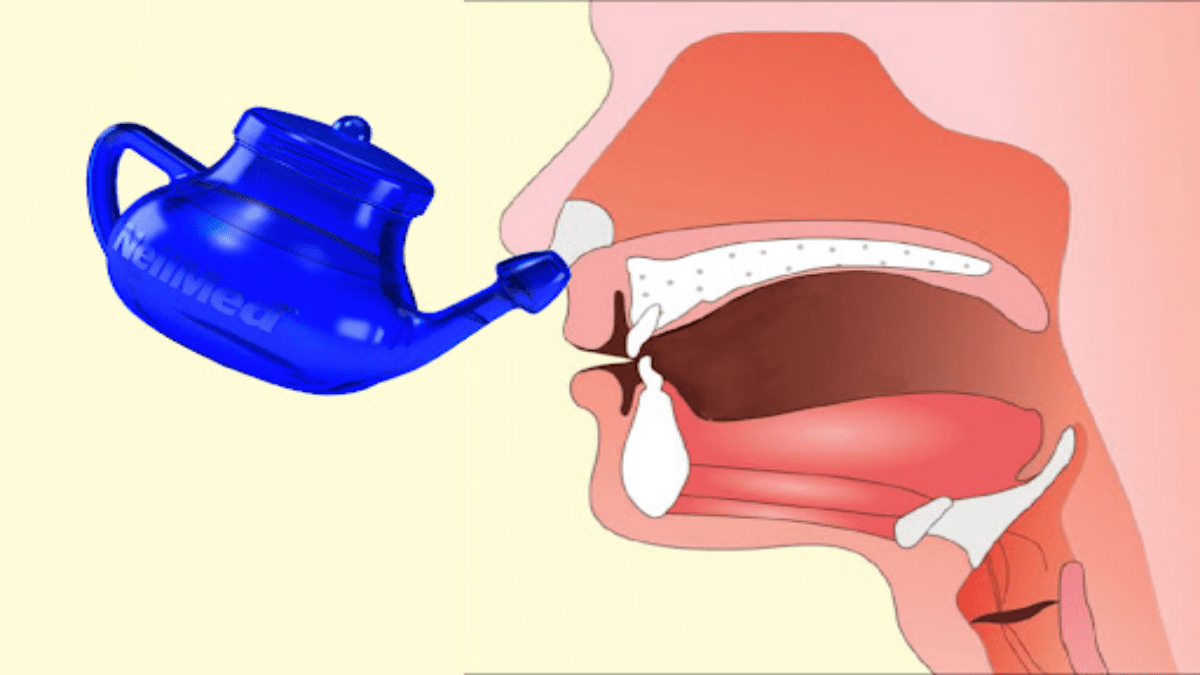
A neti pot, derived from ancient Ayurvedic traditions, has become a popular tool for natural sinus relief and nasal health. While commercial neti pots are widely available, making a neti pot at home is a cost-effective and simple alternative. In this article, we’ll explore how to craft a homemade neti pot using readily available materials.
Materials Needed:
- Container: Select a clean, small container with a narrow spout. This could be a small teapot, a squeeze bottle with a narrow nozzle, or any vessel with a suitable spout for nasal irrigation.
- Materials for Saline Solution:
- Non-iodized salt (sea salt or kosher salt)
- Warm distilled or sterile water
Steps to Make a Homemade Neti Pot:
Step 1: Choose the Container
Select a container with a spout that allows for controlled and gentle pouring. Make sure the container is clean and sanitized before use.
Step 2: Prepare the Saline Solution
Create a saline solution by mixing approximately one teaspoon of non-iodized salt with 16 ounces (about 500 mL) of warm, distilled or sterile water. Ensure the salt is completely dissolved in the water.
Step 3: Fill the Homemade Neti Pot
Carefully pour the saline solution into the chosen container, filling it to a level suitable for nasal irrigation. Test the flow of the solution to ensure it is comfortable and controllable.
Step 4: Adjust the Flow
If the flow of the saline solution is too fast or too slow, you can modify it by adjusting the size of the opening of the container’s spout. This can be done by trimming the spout slightly to achieve the desired flow rate.
Step 5: Position Yourself Over a Sink
Stand over a sink and tilt your head slightly to one side. Ensure your feet are firmly planted and maintain a comfortable posture for effective nasal irrigation.
Step 6: Insert the Spout into the Nostril
Gently insert the spout of your homemade neti pot into the upper nostril, creating a secure seal. Tilt the container to allow the saline solution to flow through the nasal passages and exit through the lower nostril.
Step 7: Repeat on the Other Side
Switch to the other nostril and repeat the process. Tilt your head in the opposite direction to ensure thorough irrigation of both nasal passages.
Step 8: Empty Your Nasal Passages
After using the homemade neti pot on both nostrils, allow the remaining saline solution to flow out naturally. Gently blow your nose to clear any excess water and mucus.
Step 9: Clean and Store
After each use, clean the homemade neti pot thoroughly with warm, soapy water. Ensure it is completely dry before storing to prevent the growth of bacteria and mold.
Conclusion:
Crafting a homemade neti pot can be a simple and effective way to incorporate nasal irrigation into your wellness routine. By using readily available materials and adhering to proper hygiene practices, you can experience the benefits of nasal health without the need for a commercial neti pot. As with any health practice, it’s essential to be mindful of cleanliness, saline concentration, and individual comfort to ensure a safe and effective homemade neti pot experience.

