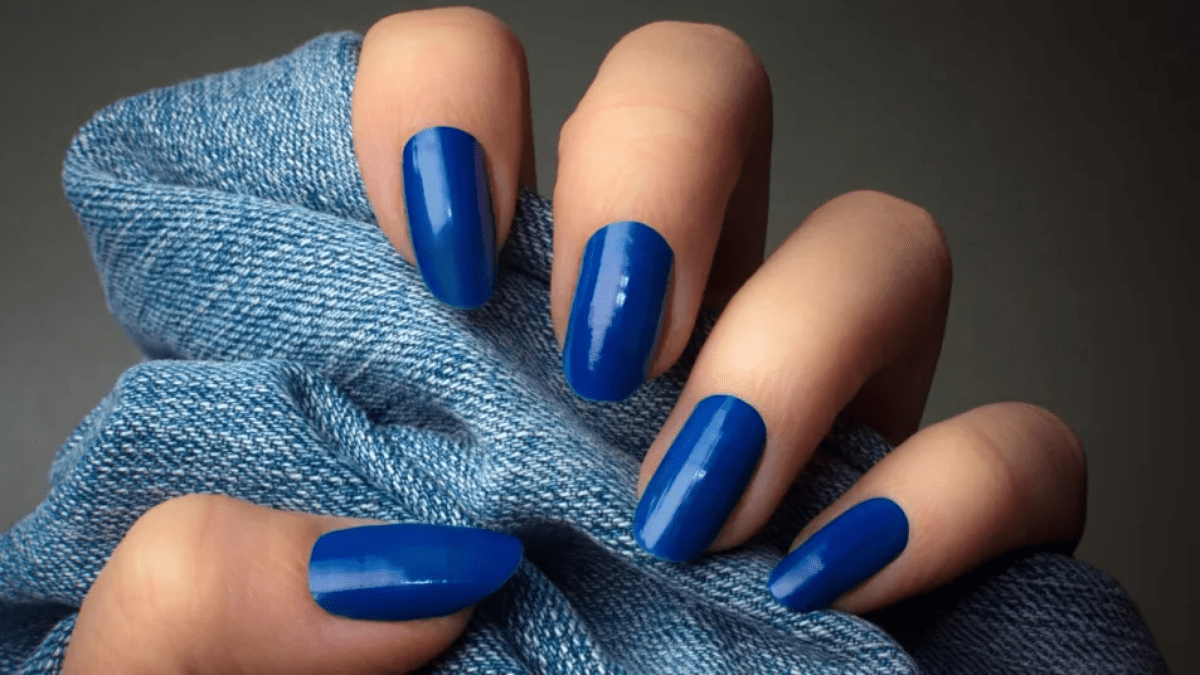
In a world where personalization and creativity reign supreme, the idea of crafting your own nail lacquer is not only intriguing but also empowering. Imagine concocting the perfect shade, tailored precisely to your preferences, and knowing that the polish adorning your nails is truly one-of-a-kind. With a few simple ingredients and a dash of creativity, you can embark on a journey to create your very own custom nail lacquer. Let’s dive into the art of DIY nail polish making.
Ingredients and Supplies:
Before we delve into the step-by-step process, let’s gather the necessary ingredients and supplies:
- Base: You’ll need a clear nail polish base, which serves as the foundation for your custom creation. You can either purchase a clear polish base or repurpose an old bottle of clear nail polish.
- Pigment: This is where the magic happens! Pigments are what give nail polish its color. You can use cosmetic-grade micas, pigments, or even eyeshadow pigments for a wide range of colors and effects.
- Empty Nail Polish Bottles: You’ll need empty nail polish bottles to store your homemade lacquer. You can find these online or repurpose old nail polish bottles by cleaning them thoroughly.
- Mixing Balls: These tiny stainless steel or glass balls help mix the pigment thoroughly with the base and ensure a smooth application.
- Funnel: A funnel will make it easier to transfer your custom polish into the nail polish bottles without making a mess.
- Toothpicks or Stirring Sticks: These will be used to mix the pigment into the base thoroughly.
- Optional Additives: You can customize your nail lacquer further by adding glitter, shimmer, or even scented oils for a unique touch.
Step-by-Step Guide:
Now that you have your ingredients and supplies ready, let’s dive into the process of making your own nail lacquer:
1. Prepare Your Workstation: Set up your workstation on a clean, flat surface. Lay out all your ingredients and supplies, ensuring everything is within reach.
2. Choose Your Pigments: Select the pigments you’d like to use to create your custom color. You can experiment with different combinations to achieve the perfect hue.
3. Mix Your Pigment: Using a toothpick or stirring stick, add the desired amount of pigment to the clear nail polish base. Start with a small amount and gradually add more until you achieve the desired color intensity. Remember, you can always add more pigment, but you can’t take it away, so start conservatively.
4. Shake It Up: Once you’ve added the pigment to the base, place a mixing ball or two into the bottle, then tightly close the cap and shake the bottle vigorously for a few minutes. This will ensure that the pigment is thoroughly mixed with the base.
5. Test and Adjust: Once mixed, apply a small amount of the polish to a test nail or a piece of paper to see the color and consistency. If necessary, you can adjust the color by adding more pigment or the consistency by adding more base.
6. Bottle Your Creation: Once you’re satisfied with the color and consistency, use a funnel to transfer the polish into your empty nail polish bottles. Be sure to wipe the funnel and the bottle neck clean between each color to avoid cross-contamination.
7. Add Optional Additives (Optional): If you’d like to add glitter, shimmer, or scented oils to your nail lacquer, now is the time to do so. Simply add a small amount of the additive to the polish and shake well to mix.
8. Label Your Creation: Finally, label your homemade nail lacquer with the color name and any other relevant information. This will not only help you keep track of your creations but also add a professional touch to your custom polishes.
9. Let It Rest: Allow your newly created nail lacquers to rest for a few hours to ensure that the pigment is fully incorporated and the polish has reached its optimal consistency.
10. Enjoy Your Custom Creations: Once your nail lacquers have rested, they’re ready to use! Apply your custom creations to your nails and admire the beautiful, one-of-a-kind colors you’ve created.
Making your own nail lacquer is a fun and rewarding DIY project that allows you to unleash your creativity and express your unique style. With just a few simple ingredients and a bit of experimentation, you can create custom nail polishes that are as unique as you are. So gather your supplies, let your imagination run wild, and start crafting your own beautiful creations

