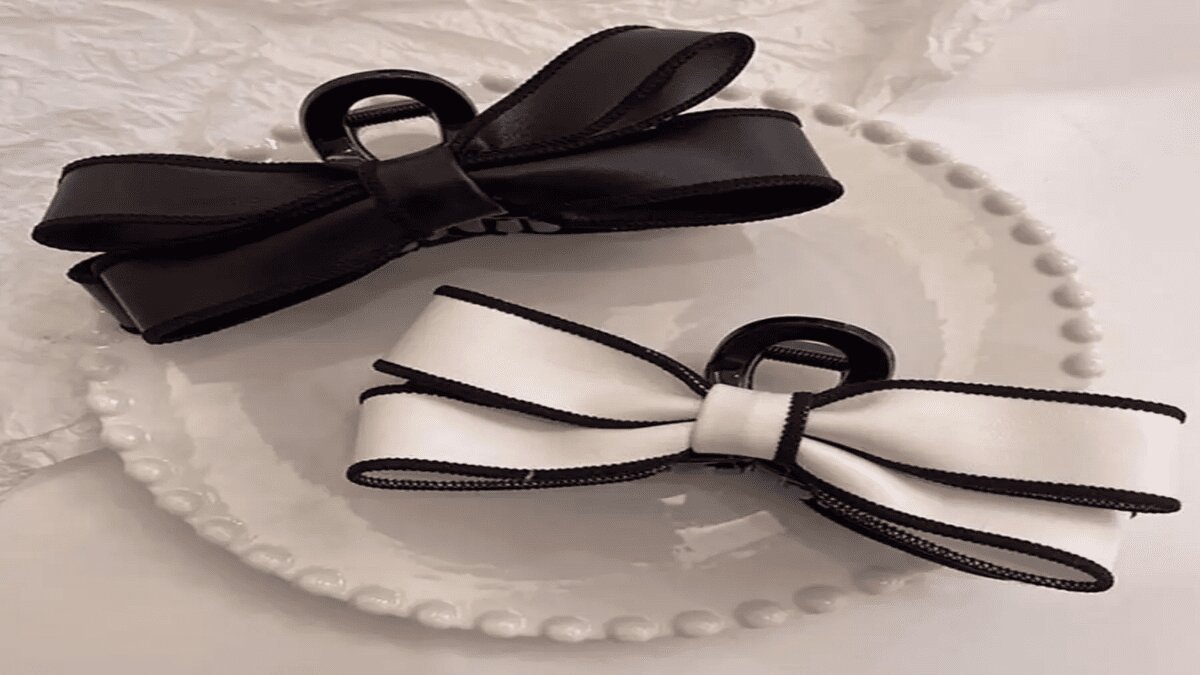
There’s something undeniably charming about a coquette bow—its delicate curves, its whimsical appeal, and the touch of elegance it adds to any ensemble. Making your own coquette bow not only allows you to express your creativity but also ensures that your accessory perfectly complements your style and personality. Whether you’re a crafting enthusiast or a beginner, this step-by-step guide will take you through the process of creating your very own coquette bow, adding a unique and personalized touch to your wardrobe.
Materials Needed for Coquette Bow:
- Ribbon: Choose a ribbon of your preferred width and material, such as satin, grosgrain, or velvet, in the color or pattern of your choice.
- Scissors
- Glue gun or fabric glue
- Ruler
- Lighter (optional, for sealing ribbon ends)
- Embellishments (optional): Beads, sequins, pearls, or fabric flowers to decorate your bow.
Step 1: Measure and Cut the Ribbon Begin by determining the desired size of your coquette bow. Use a ruler to measure and cut two lengths of ribbon, one longer than the other. The longer piece will form the body of the bow, while the shorter piece will be used to cinch the center.
Step 2: Form the Bow Loops Take the longer piece of ribbon and create two loops by folding each end towards the center. Adjust the size of the loops according to your preference, ensuring they are symmetrical. Press down firmly on the center of the loops to create creases, forming the shape of the bow.
Step 3: Secure the Bow Loops Using a glue gun or fabric glue, apply a small amount of adhesive to the center of the bow where the loops intersect. Press the loops together firmly to secure them in place. Hold them in position until the glue sets and the bow holds its shape.
Step 4: Cinch the Center Take the shorter piece of ribbon and wrap it around the center of the bow, covering the glued section. Pull the ribbon tightly to cinch the center of the bow, creating the classic gathered look. Trim any excess ribbon, leaving enough to secure the ends.
Step 5: Secure the Cinched Center Apply a small amount of glue to the underside of the cinched center and press the ribbon ends onto the back of the bow, securing them in place. Trim any excess ribbon if necessary, ensuring a neat finish.
Step 6: Add Embellishments (Optional) For a touch of sparkle or texture, embellish your coquette bow with beads, sequins, pearls, or fabric flowers. Use your creativity to decorate the bow according to your style and preference. Secure the embellishments in place using glue, and allow them to dry completely.
Step 7: Seal the Ribbon Ends (Optional) To prevent the ribbon from fraying, carefully run a lighter flame along the cut edges of the ribbon. Be cautious not to burn the ribbon, as only a brief exposure to the flame is needed to seal the ends.
Step 8: Attach the Coquette Bow Your coquette bow is now complete and ready to be attached to your desired accessory. Whether adorning a hair clip, headband, clothing, handbag, or shoes, simply use glue or stitching to attach the bow securely.
Crafting your own coquette bow allows you to unleash your creativity and customize your accessories to suit your personal style. With just a few simple materials and steps, you can create a charming and elegant bow that adds a unique touch to any outfit. Whether you’re making bows for yourself or as gifts for loved ones, enjoy the process of crafting elegance and expressing your individuality through these delightful accessories.


