Chia seed pudding has emerged as a popular and nutritious treat that not only satisfies sweet cravings but also provides a substantial dose of health benefits. This versatile dish is easy to prepare and offers a delightful texture that appeals to various taste preferences. In this article, we’ll guide you through the creation of the perfect chia seed pudding, combining simplicity, flavor, and nutritional goodness.
Ingredients:
- 1/4 cup chia seeds
- 1 cup milk (dairy or plant-based)
- 1-2 tablespoons sweetener (maple syrup, honey, agave nectar, or your preferred sweetener)
- 1/2 teaspoon vanilla extract
- A pinch of salt (optional)
- Fresh fruits, nuts, or granola for toppings
Instructions:
Step 1: Gather Your Ingredients
Before diving into the preparation, ensure you have all the ingredients ready. Feel free to customize the recipe based on your taste preferences and dietary choices, opting for dairy or plant-based milk and adjusting the sweetness level.
Step 2: Combine Chia Seeds and Liquid
In a bowl or jar, combine the chia seeds and milk. Stir well to prevent clumping and ensure an even distribution of chia seeds in the liquid. This is the base of your pudding, and the magic will happen as the chia seeds absorb the liquid.
Step 3: Add Sweetener and Flavor
Pour in the sweetener of your choice, whether it’s maple syrup, honey, agave nectar, or any other preferred sweetener. Add vanilla extract to infuse a subtle but delightful flavor. If you enjoy a touch of saltiness, add a pinch of salt to balance the sweetness.
Step 4: Mix Thoroughly
Stir the mixture thoroughly to combine all the ingredients. Make sure the chia seeds are evenly distributed throughout the liquid to avoid clumps. The sweetener and flavorings should be well incorporated.
Step 5: Refrigerate and Stir
Cover the bowl or jar and refrigerate the mixture for at least 4 hours or, ideally, overnight. During the first hour, give the mixture a good stir to prevent the chia seeds from settling at the bottom. This will help achieve a smooth and consistent texture.
Step 6: Check Consistency
After the refrigeration period, check the consistency of the pudding. The chia seeds should have absorbed the liquid, creating a thick and pudding-like texture. Adjust the consistency by adding more milk if desired.
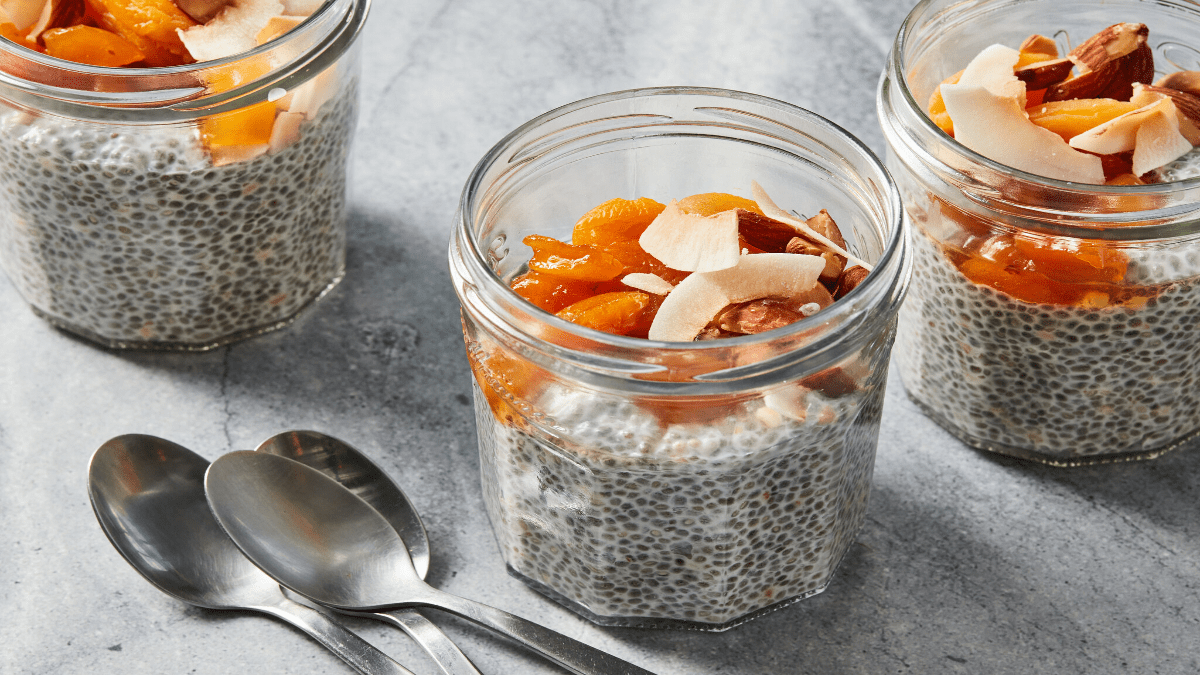
Step 7: Serve and Garnish
Once your chia seed pudding has reached the desired consistency, it’s time to serve. Spoon the pudding into serving bowls or jars. Top it with an array of fresh fruits, nuts, or granola for added texture, flavor, and nutritional goodness.
Step 8: Enjoy!
Your perfect chia seed pudding is ready to be enjoyed. Whether as a healthy breakfast, a satisfying snack, or a guilt-free dessert, this versatile treat offers a delightful combination of creaminess and crunch, all while delivering a host of nutritional benefits.
Tips for Customization:
- Flavor Variations: Experiment with different flavorings such as cinnamon, nutmeg, or almond extract to create unique variations.
- Layered Puddings: Create visually appealing layered puddings by alternating chia seed layers with fruit or yogurt.
- Texture Preferences: Adjust the amount of milk to achieve your preferred texture, whether you like it thicker or more liquid.
- Nutritional Boost: Add superfoods like flaxseeds, hemp seeds, or a dollop of nut butter for an extra nutritional boost.
Chia seed pudding is not just a delightful treat; it’s a canvas for creativity and a nutritional powerhouse. This perfect recipe combines simplicity with the freedom to customize, allowing you to indulge in a wholesome and satisfying dessert or snack. Enjoy the creamy goodness of chia seed pudding and savor the health benefits it brings to your table.